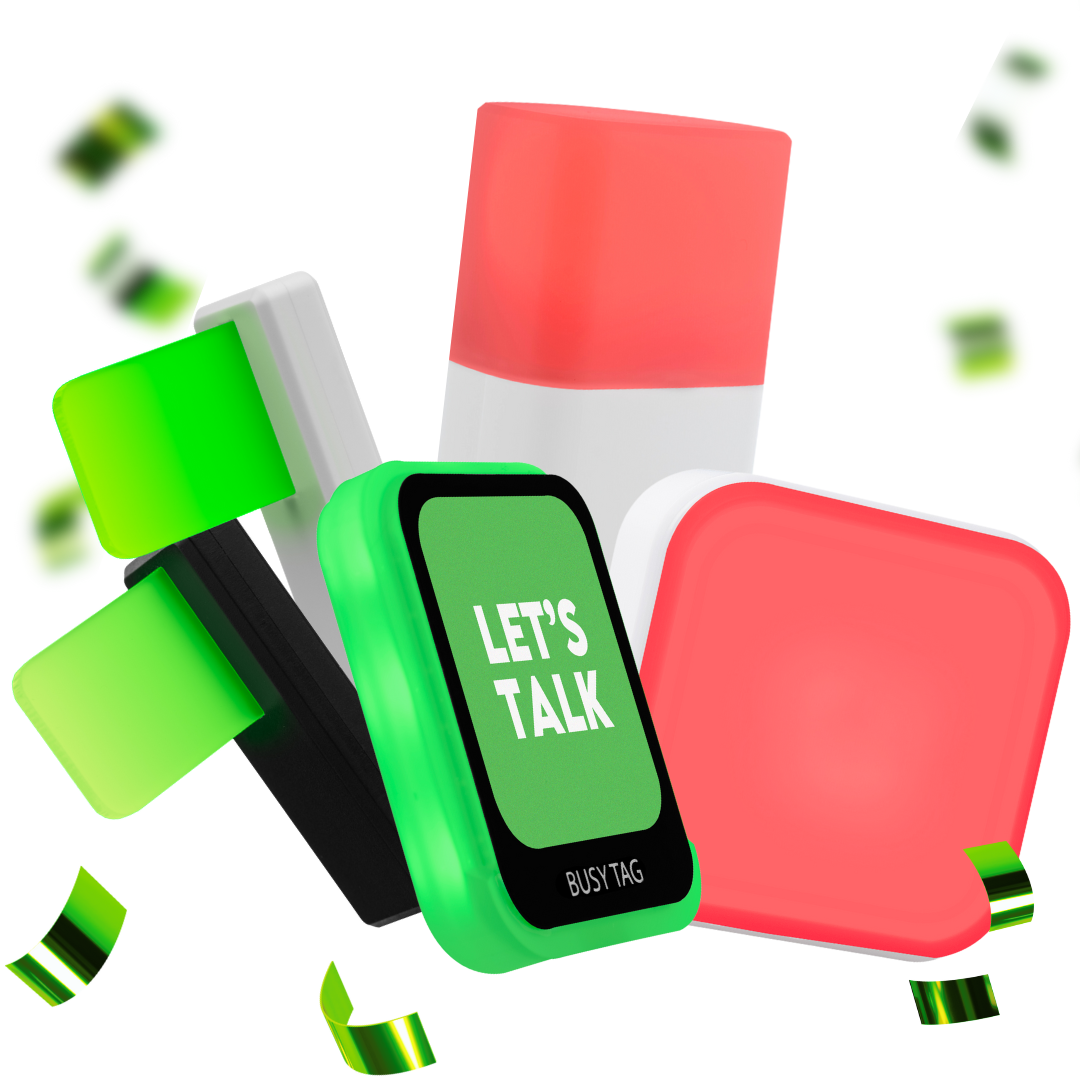

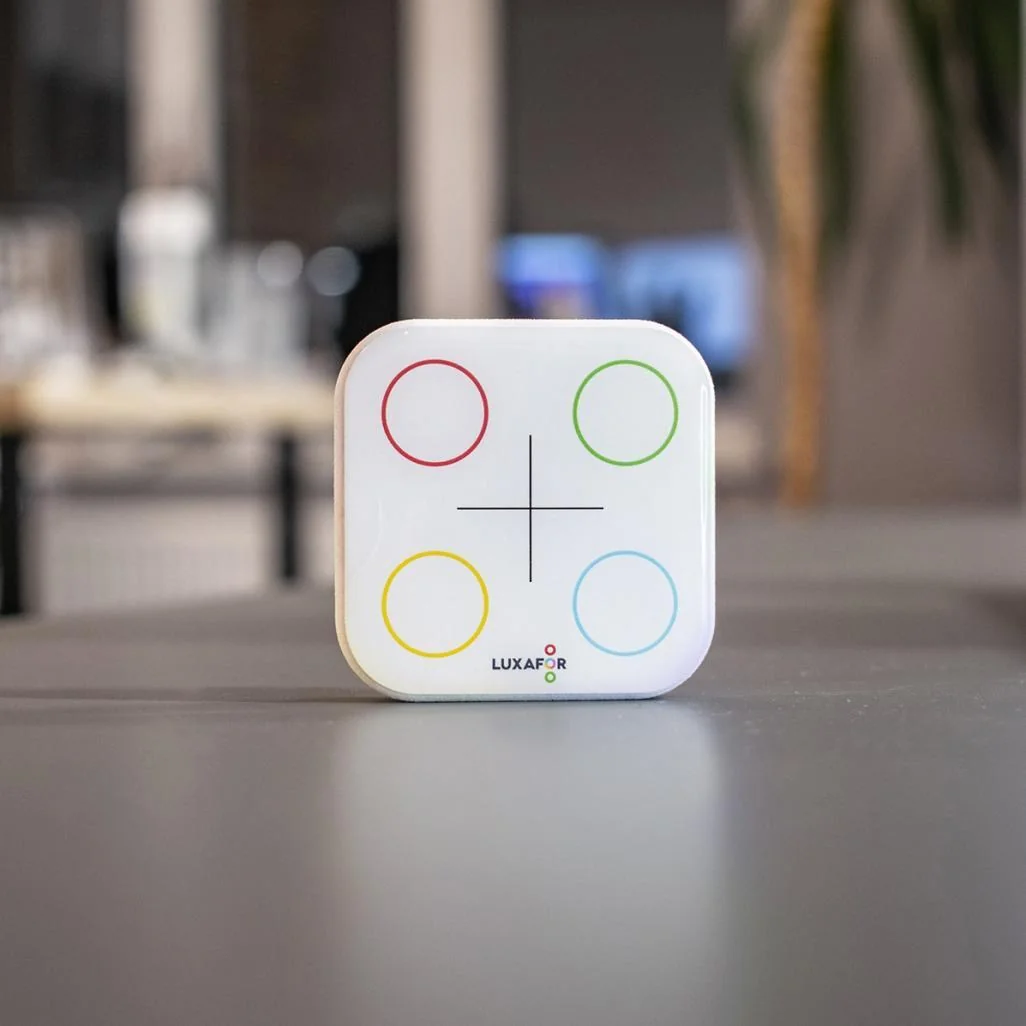
The Luxafor Smart Button is a USB button with 4 touch areas. You bind a function to each area and to each way you touch it, and the button controls your Luxafor devices, apps and shortcuts. This manual covers setup, the Smart Button app, recipes and providers, compatibility and specifications.
What’s in the box #
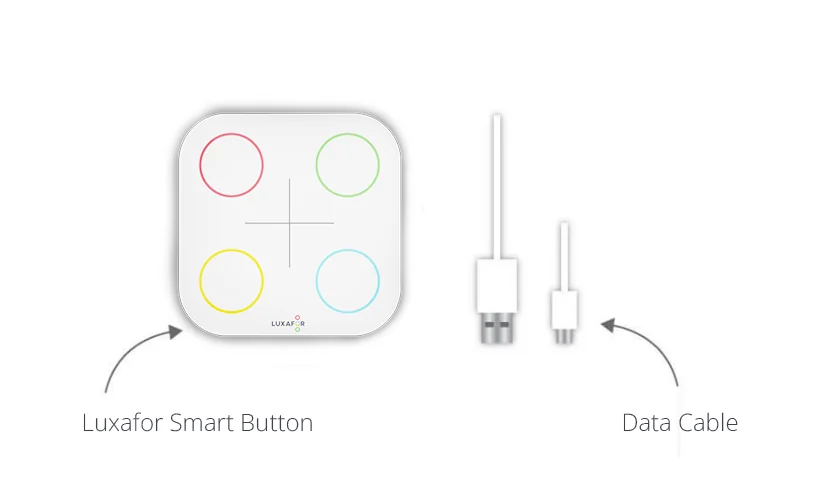
- 1 Luxafor Smart Button
- 1 USB data cable. It is USB-A to USB-C or USB-C to USB-C, in 0.5 m (20 in) or 1.5 m (60 in), depending on the version you ordered.
Set up #
- Download the Luxafor Smart Button app for your computer from the Luxafor software page. Install the latest version.
- Open the Smart Button app on your computer.
- Put the Smart Button on an even surface where you will use it.
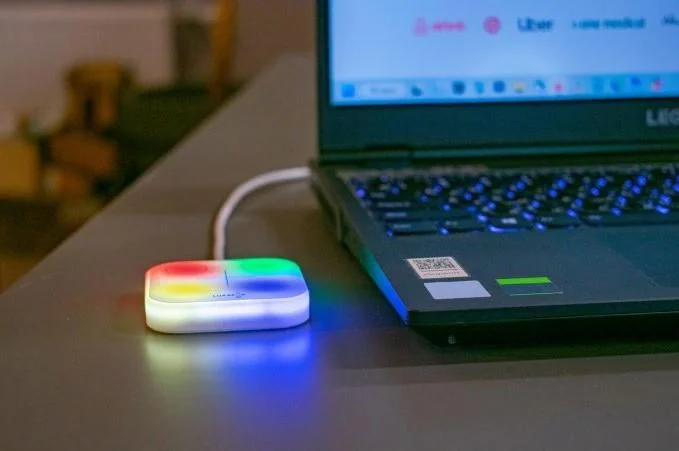
- Connect the Smart Button to your computer with the USB cable from the box. Other USB cables also work, if they support USB data lines.
- In the app, bind functions to the 4 touch areas. The areas are red, green, yellow and blue, as shown on the device. You can use a tap, a double tap and a hold on each area. You can also set the light of each area.
Use the Smart Button app #
What you can bind #
Bind any function to any of the 4 touch areas, and to a tap, a double tap or a hold on each one. You can unbind a function and set up the button again at any time. You can also give each button a custom meaning.
The Smart Button can:
- change colors on Luxafor devices: Flag, Orb, Bluetooth (Pro) and Colorblind Flag
- start outgoing webhook events
- start keyboard shortcut events
- change your presence status in Microsoft Teams
- switch YouTube videos or Spotify playlists, and control other apps and devices that work with Luxafor products
Configure a button #
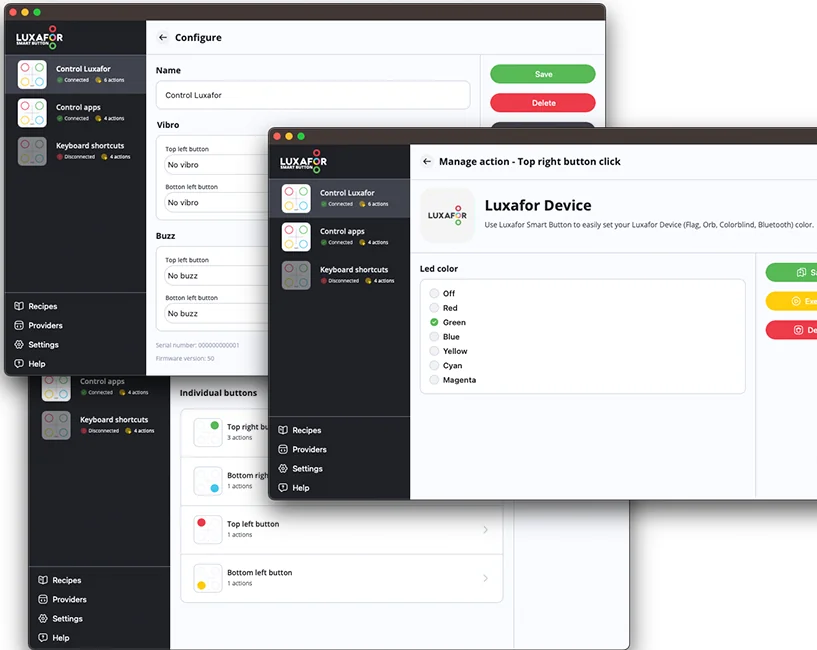
Select your Smart Button in the app and open Configure. You can:
- change the name of the Smart Button
- change the sound and vibration mode of each touch area. There are 3 modes to choose from.
- change the hold time and the double-tap time, so the button reacts the way you want
Settings #
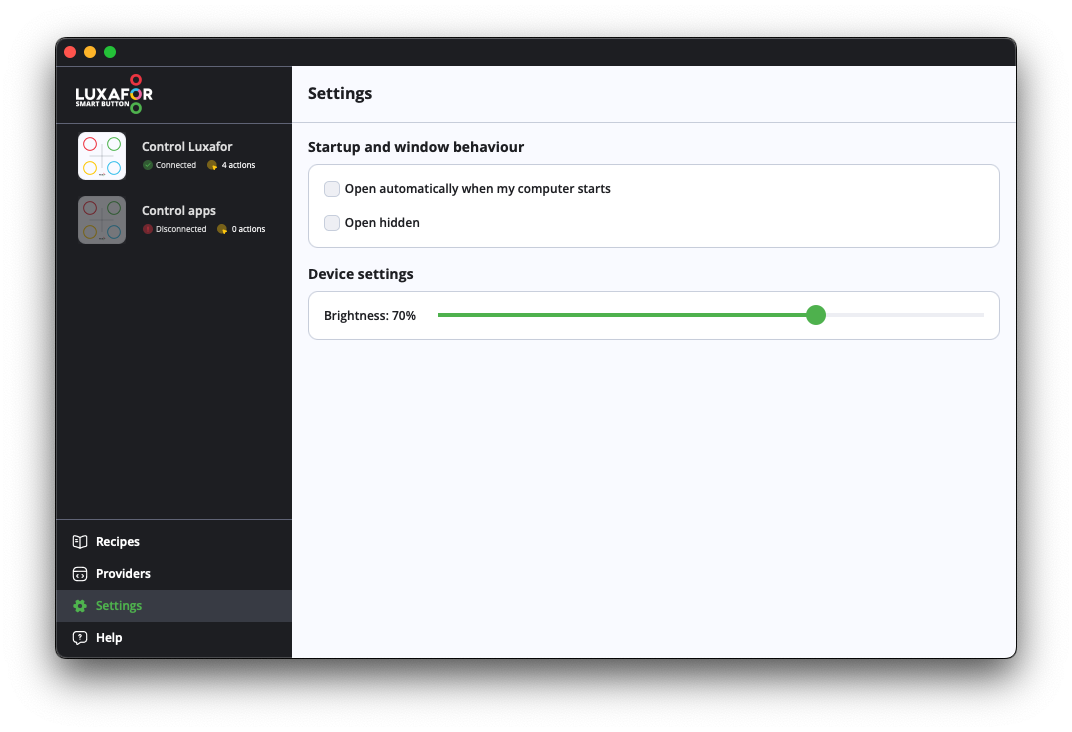
Open Settings in the app to change these options:
- Open automatically when my computer starts: starts the app when your computer starts.
- Open hidden: minimizes the app when it starts.
- Brightness: sets the LED brightness for your Smart Button devices.
- Language: changes the app language. This option is available only in the Windows app.
Add a recipe #
A recipe is a ready-made set of button actions.
- Click Recipes in the navigation panel. A list of recipes appears.
- Select the recipe you want and click Load. A list of your Smart Button devices appears.
- Choose the Smart Button you want to use with the recipe.
Add a provider #
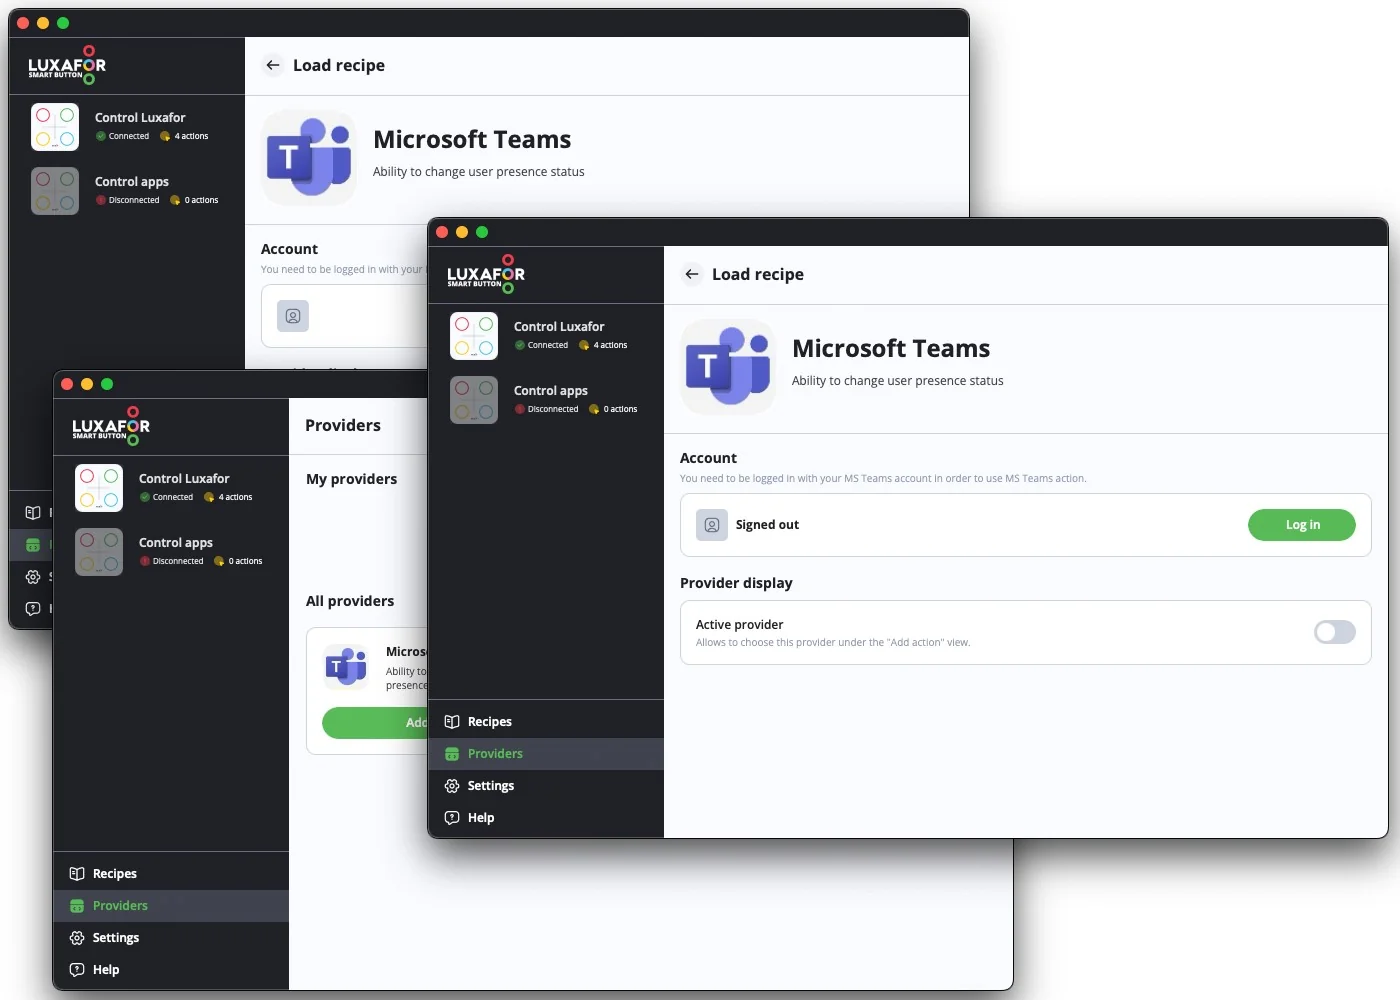
A provider connects the Smart Button to another service, for example Microsoft Teams.
- Click Providers in the navigation panel. A list of providers appears.
- Select the provider you want and click Add. The details of the provider open.
- Follow the extra steps for that provider. For Microsoft Teams, click Log in and sign in to your Teams account.
- Turn on Active provider in the Provider display section. This makes the provider available for your button actions.
Some providers add new default recipes to the Recipes section.
How the Smart Button works #
The Smart Button is a USB Human Interface Device (HID) with touch sensors. When you touch an area, the button sends a signal to your computer. The Smart Button app reads the signal and runs the function you bound to it.
Compatibility #
What you can use depends on the app you run, not on the Smart Button itself. The Luxafor Smart Button app needs:
- Windows 7 or later
- macOS 10.14 or later
Technical specifications #
| Specification | Value |
|---|---|
| Dimensions | 56 × 56 × 12 mm |
| Weight | 50 g without cable |
| Light | 8 RGB LEDs |
| Power | USB powered, through a USB-C data cable |
| Power consumption | Up to 100 mA |
For more details, read Luxafor Smart Button technical specifications and requirements.
Still need help? #
Send us a message and tell us:
- which device you have and where you bought it
- what you see, and what you expected to see
- which steps on this page you have already tried
- your operating system and Luxafor app version, if it is a software problem
- your order number, if you have one
A short video or photo of the problem helps us fix it faster. If the problem is with the connection, film the device at the moment it tries to connect.