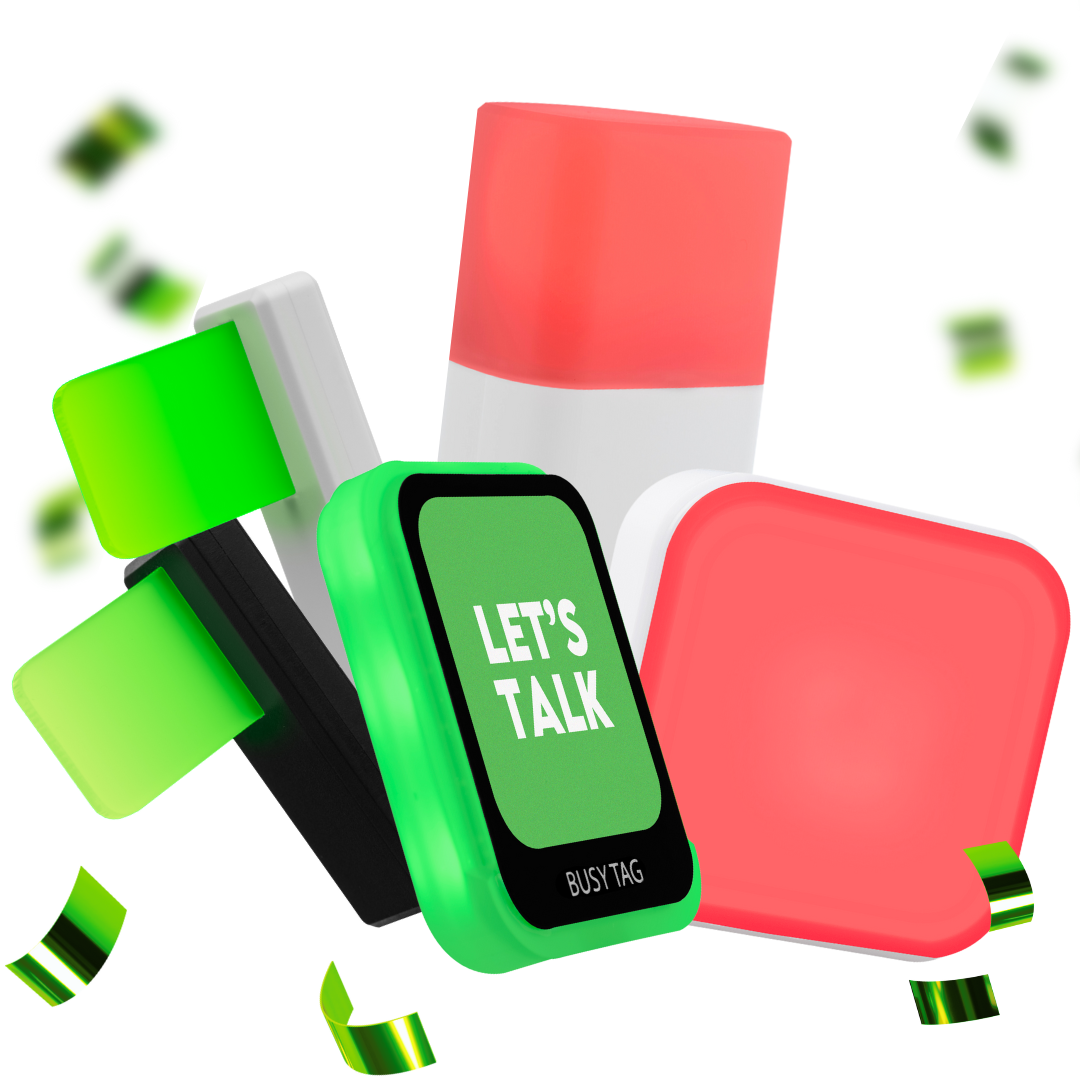

The Busy Tag 2 (Wi-Fi version) is a USB-C powered busy light with a full-color screen and 7 RGB LEDs. Put it on your monitor or desk to show that you are busy, free or in a meeting, or any status you make yourself. You can add context to the screen, from “On a call until 3” to your team’s logo or an animated GIF.
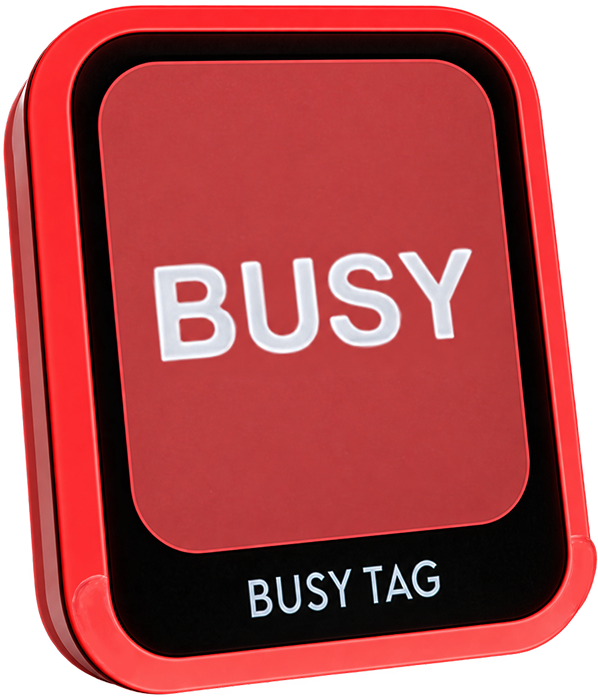
The Busy Tag 2 connects to your Wi-Fi network and syncs with the Busy Tag cloud. You can control it from your phone or computer from anywhere, without a USB data connection. Change the picture, set LED colors and patterns, run focus timers and use plugins such as a clock, weather and calendar. You can also connect it to a Windows PC or a Mac over USB for setup, local control and firmware updates.
What’s in the box #
- 1 Busy Tag 2, with a magnet built into its back
- 1 USB-C to USB-C cable, 0.5 m (20 in)
- 1 magnet with adhesive, for you to stick on a surface you choose
What’s in the device #
- Color screen, 240 × 280 px, with adjustable backlight
- 7 RGB LEDs you can control one by one
- Wi-Fi, 2.4 GHz, 802.11 b/g/n
- USB port for power and for connecting to a computer
- One button, used for restart and reset. See Use the button.
- 3 MB of storage for your pictures and GIFs
- Temperature sensor and a clock that syncs from the internet
The device runs on USB power. Any USB power adapter, computer USB port or powered hub works.
Choose an app #
The Busy Tag 2 works with two apps.
- Busy Tag app: the main app, for Windows, macOS, Android and iOS. Use it to set up Wi-Fi, control the device remotely, make and send pictures and GIFs, choose LED colors and patterns, run focus sessions and change device settings.
- Luxafor app: an alternative for Windows and macOS. Use it for status colors and patterns, timers, integrations (Microsoft Teams, Zoom, Slack, Google Calendar, Zapier, Webhook), your own status designs and hotkeys.
Download the Busy Tag app from the Busy Tag software page. Download the Luxafor app from the Luxafor software page.
The setup steps below use the Busy Tag app. The Luxafor app is covered in Use the Luxafor app.
The Busy Tag app #
The Busy Tag app runs on:
- Windows 10 and 11
- macOS
- Android 7.0 and newer
- iOS and iPadOS 15 and newer
The app is available in English, Latvian, German, Spanish, French, Japanese and Russian. Some features depend on your system:
- Scanning a QR code works only on Android and iOS. You need it for device setup and for adding a shared device.
- A USB connection to the device works only on Windows and macOS.
- On Android and iOS, the Wi-Fi connection through the cloud is the only way to control the device.
- Firmware updates need a USB connection on Windows or macOS.
Set up #
- Plug the Busy Tag 2 into USB power.
- On first start, and after a factory reset, the screen shows a setup QR code. It holds the name of the device, the name of its own Wi-Fi hotspot and a password. Each device makes its own random password, so there is no shared factory password. The password is only in the QR code.
- Install the Busy Tag app and set up Wi-Fi from your phone or tablet, or from a computer over USB.
If the QR code does not show, the device was set up before, for example from another phone. Press and hold the button for 3 seconds to reset it to factory settings. The QR code then comes back.
Set up Wi-Fi from a phone or tablet #
This is the easiest way. You need an Android or iOS phone and the Wi-Fi password of your home or office network.
- In the Busy Tag app, go to Device Setup and choose Scan Device QR Code.
- Tap Scan QR Code and point the camera at the QR code on the Busy Tag screen. Allow the camera when the app asks. On many phones the normal camera app can also scan the code. It opens a link that starts the setup in the Busy Tag app.
- Wait while the app joins the device’s own Wi-Fi hotspot and connects to it. Your phone loses internet for a short time. This is normal.
- The device scans for networks, and the app shows them sorted by signal strength. Choose your network, or type its name (SSID). If your phone is on one of these networks, the app selects it for you.
- Enter the Wi-Fi password. An open network needs no password. The app remembers passwords in the secure storage of your phone, so the next device is faster to set up.
- Tap Configure Device.
The app sends your Wi-Fi details to the device, connects your phone to your own network again, registers the device with the Busy Tag cloud and runs a test command. When you see Configuration Complete!, you are done. The app opens the Designs page.
If the last check says the device is “not reporting online status yet”, wait 1 to 2 minutes. The first time, the device needs this long to come online.
The device stores your Wi-Fi details. It joins your network by itself each time you power it on, with no phone or computer.
Set up Wi-Fi from a computer over USB #
On Windows and macOS you set up the device over a USB cable instead of scanning the QR code.
- Connect the Busy Tag 2 to your computer with a USB data cable. The app finds it by itself.
- If Wi-Fi is not set up yet, the app shows a message that the device can sync with the cloud over Wi-Fi. Choose Set Up Wi-Fi. You can also turn on Enable Cloud Sync in Device Settings at any time.
- In the Wi-Fi network picker, press Scan, choose your network, enter the password and press Connect.
- The app registers the device with the cloud. When it shows Device is online, unplug the device from the computer. You can now control it over Wi-Fi from any of your devices.
This page also has advanced Wi-Fi modes:
- Off: Wi-Fi is off. This also turns off cloud sync.
- Connect to Wi-Fi: the normal mode. The device joins your router.
- Hotspot only: the device broadcasts only its own hotspot.
- Network + hotspot: both at once. This is the factory setting.
Use the Busy Tag 2 every day #
When your device is online, it shows in the app’s device list as Connected via Cloud. Everything in this section works over Wi-Fi, so you do not need a USB cable.
Designs #
On the Designs page you make pictures and send them to the screen.
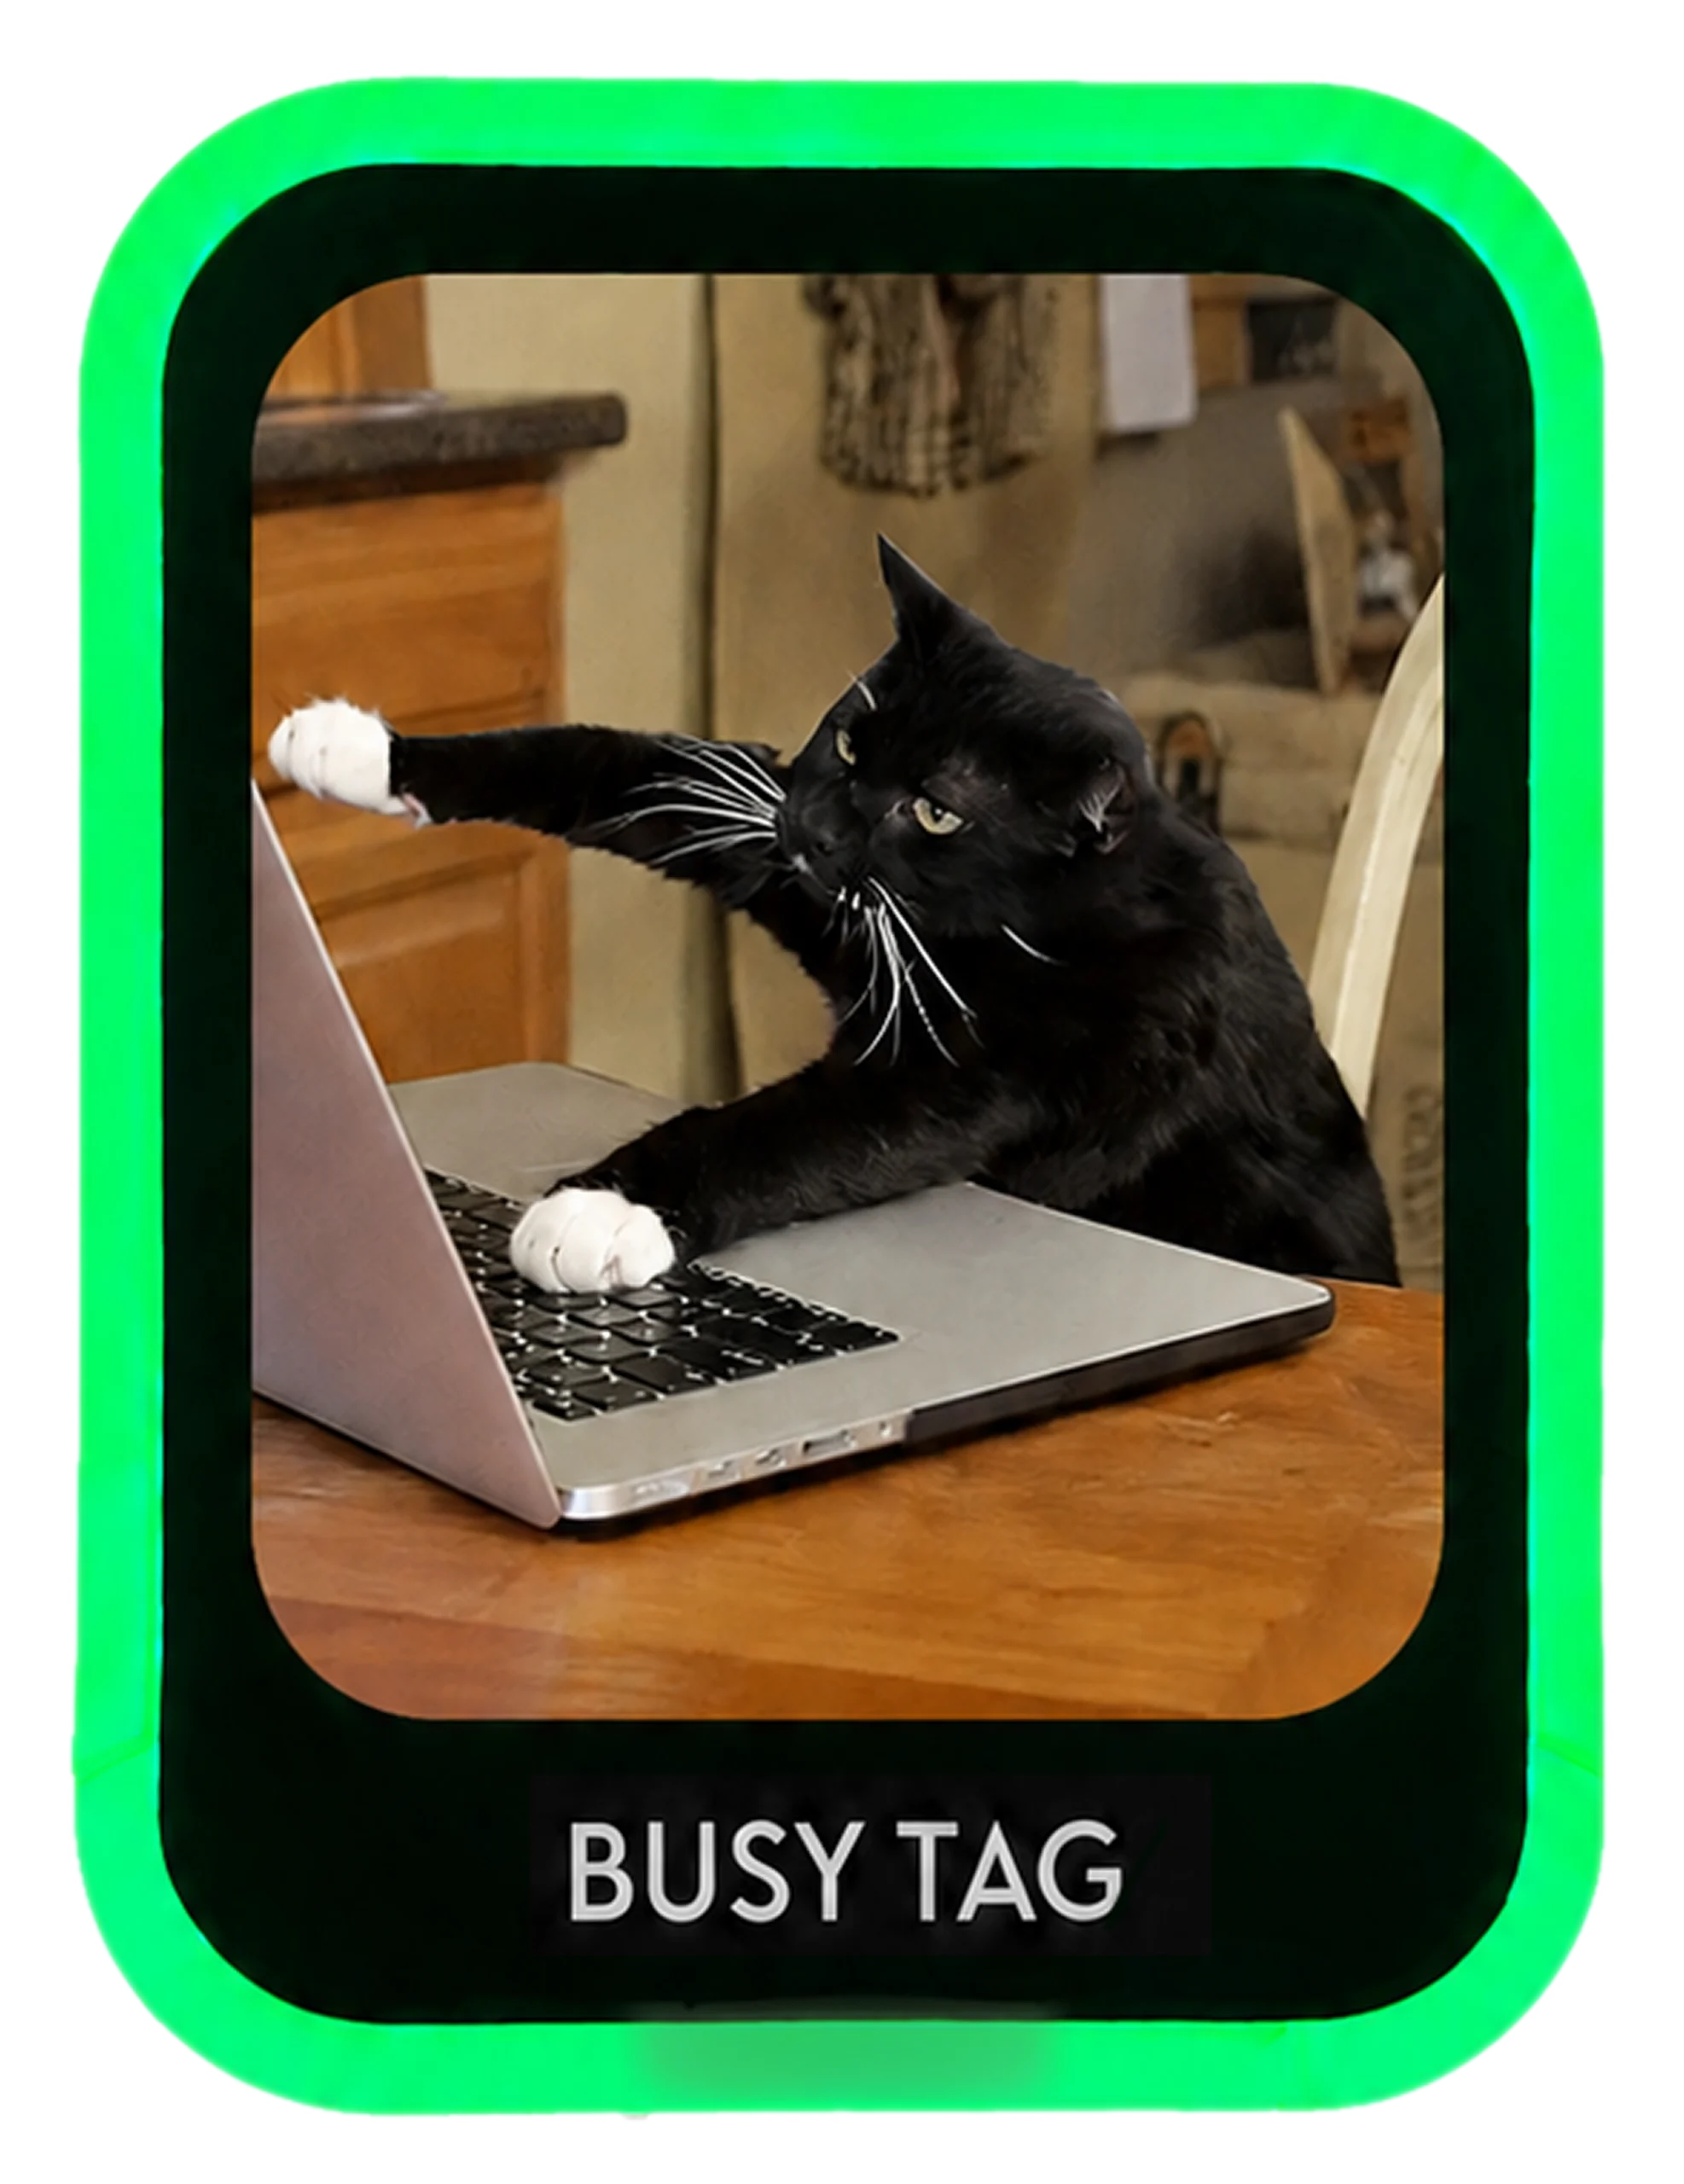
- The screen is 240 × 280 px. The editor can scale a picture with Fill, which crops it to fill the screen, or Fit, which shows the whole picture with bars.
- The device shows PNG and GIF files only. Animated GIFs play.
- A file can be up to 1 MB. The app makes larger files smaller by itself. It removes frames from GIFs and re-encodes pictures.
- You can add text, choose fonts and colors, and save designs to use again.
- When you press Send, the file goes to the cloud and the device downloads it. The app shows the progress. The toolbar on the device shows the speed.
The device draws a status toolbar over the top 30 px of the screen. Keep important parts of your design below this area, or turn the toolbar off. See Toolbar and clock.
Online gallery #
Browse ready-made pictures and GIFs, including content from Giphy and Pexels. Send one to your device with one tap.
LED colors and patterns #
On the LED page you control the 7 RGB LEDs.
- Pick any solid color with the color wheel or the sliders.
- Choose one of 25 patterns, such as Police, color flashes, running lights, pulses and Rainbow.
Plugins and Focus Session can also control the LEDs.
Focus Session #
Focus Session is a Pomodoro-style focus timer. During a session, the app sets the screen image, LED color and LED pattern you chose, so people near you can see that you are focused. During breaks, it switches to your break look.
Plugins and integrations #
The Integrations page has plugins that show live information on the screen and the LEDs:
- Analog Clock and Digital Clock
- Weather and Weather Forecast
- Google Calendar, Google Tasks, Gmail Unread and Google Drive
- Microsoft Teams
- Stock Price and Bitcoin Price
- Countdown, Days Since and Days Left This Year
- Lunar Phase
- Marquee, which scrolls text
- Claude Code usage, which shows your Claude Code token usage limits
You can run one plugin at a time, or put several in a rotating playlist. For some plugins, such as Google and Teams, the app asks you to sign in to the service in your browser.
Toolbar and clock #
The device draws a slim status toolbar across the top 30 px of the screen. It is on by default. It can show:
- the Wi-Fi signal. A “!” means the device is connected to the router but has no internet.
- the temperature of the device in °C
- the time (HH:MM) in your time zone. The app sets the time zone for you, and the time syncs from internet time servers.
- during a file transfer, an up or down arrow with the speed, for example 450KB/s
A status message bar at the bottom can show information and error messages, such as download progress or “cloud offline”. It is off by default.
Both bars are see-through. You can change their opacity and turn them on or off in Device Settings under Status Overlay. In developer mode you can also choose which items show on which side.
Device settings #
Open your device in the app and go to Device Settings. For Wi-Fi devices, these settings work over the cloud:
- Device info: ID, status, temperature and Wi-Fi signal strength (dBm)
- Share Device: let another person’s app control this device. See Share your device.
- Device name: rename the device, up to 32 characters
- Screen brightness: 1 to 100%
- LED brightness: 1 to 100%
- Status Overlay: the toolbar, status messages and opacity
- Restart device
- Disconnect: removes the device and resets it to factory settings
You never need to set the time zone. The app sends the time zone of your computer or phone to the device. This keeps the clock right, including changes for daylight saving time.
Warning: Disconnect on a Wi-Fi device resets it to factory settings. The app asks you to confirm first. It erases the Wi-Fi details and all settings, and the device restarts with the setup QR code. You cannot undo this.
These settings work only over USB, on Windows and macOS:
- firmware updates. See Update the firmware.
- the Wi-Fi configuration page. See Change the Wi-Fi network.
- format the device storage
- Recover Device, an emergency firmware reflash
Share your device #
You can let family or colleagues control your device from their own phones.
Share as the owner #
- Open Device Settings and tap Share Device.
- The app makes a QR code and a link. The link has a one-time pairing token and expires after 1 hour.
- Show the QR code to the other person, or tap Copy link and send them the link.
Add a shared device #
- In the app, go to Device Setup and tap Add Shared Device.
- Tap Scan Shared Device QR Code and scan the owner’s QR code on Android or iOS. Or open the link you got on your phone.
- The device is added to your list. It works over the cloud like your own devices.
- Each link works once. To let in another person, or the same person after the link expired, make a new link.
- A device can have several people who control it at the same time.
- If you see Couldn’t claim this device, the link expired or was used. Ask the owner to share again.
Change the Wi-Fi network #
If you move the device to a new home or office, you have two options.
- Factory reset, from your phone: hold the button for 3 seconds. The LEDs flash red. The setup QR code comes back. Run the phone setup again.
- USB, from Windows or macOS: connect the device over USB and open Device Settings, then Wi-Fi, then Configure Wi-Fi. Scan for networks, choose the new one, enter its password and press Connect. Your pictures and settings stay.
Update the firmware #
Firmware updates add new features and fixes. For Wi-Fi devices, you can only install them over USB at the moment.
- Connect the device to a Windows PC or a Mac with a USB data cable.
- Open Device Settings. If there is a newer firmware, you see New firmware version X is available! Press Update.
- The app sends the firmware, and the device restarts by itself. Do not unplug the device during the update.
Your pictures stay after an update. The default picture is in protected storage that updates do not touch. To see the version you have, open Device Settings and look at Current firmware version. The Wi-Fi version runs firmware 3.0 or newer.
Use the button #
The device has one button on it.
| What you do | What happens |
|---|---|
| Press once, briefly | Erases all files on the device (pictures and GIFs) and restarts. Your settings, Wi-Fi details and cloud registration stay. There is no LED signal. The device just restarts. |
| Press and hold for 3 seconds | After 3 seconds, all 7 LEDs flash red. This tells you that you reached the factory reset point. Release the button to do a full factory reset. It erases all files, Wi-Fi details, cloud registration and settings. The device restarts with the setup QR code. |
| Hold while you plug in USB power | Does a full factory reset, with no LED signal. Use it if the device does not respond. |
If you let go before the red flashing starts, it counts as a short press. The files are erased and the settings stay.
After a factory reset, the device makes a new random hotspot password. Old QR codes and links no longer work.
Use the Luxafor app #
Use the Luxafor app on Windows or macOS. All modes below work on both.
Choose a mode #
Open General in the Luxafor app to choose a mode. Each mode takes control of the device, so only one mode can be active at a time.
Solid Color mode #
Choose a preset color, such as red for busy and green for available. For your own color meanings, use Custom Color and move the slider to pick from 16 million colors.
Timer mode #
Use the timer to plan your day. Set the times when you cannot be disturbed and when you are available.
- Click Add new timer.
- Enter the times.
- Choose a color. The Busy Tag 2 changes color at those times.
Tomato Timer mode #
Set the length of your Pomodoro sessions and breaks to fit your work pace. The device blinks in a pattern you choose when a session starts. It turns red during a session, so people know not to disturb you. It turns green during a break. You can start, pause or reset a session.
Microsoft Teams mode #
The device shows your Teams status. Follow the steps in Microsoft Teams mode.
Zoom mode #
- Install Zoom and log in to your Zoom account.
- Install and open the Luxafor app on your computer.
- Click Zoom in the left menu of the app.
- Click Log in with Luxafor. The button opens the Zoom login page. Sign in with your Zoom account.
- Click ALLOW when the app asks you to authorize the connection.
- Match each Zoom status to a color. For example, Busy is red and Available is green.
The device now follows your Zoom status. You can change the colors at any time in the app. The device shows your Zoom status only while the Zoom tab is open. To change the color another way, open a different tab, such as Solid Color. For more steps, read Luxafor integration with Zoom.
Slack mode #
The device shows the status you set in Slack. In the Slack tab, choose a color for each Slack status. The device changes to that color when you use the status. It also works the other way. You can set your Slack status from the Luxafor app without opening Slack. Read Luxafor integration with Slack.
Google Calendar mode #
The light changes color with your calendar events, so others can see when you are busy. You can:
- set reminders before events, with the timing and light pattern you choose
- choose the colors for Busy, Free and Outside of event, or use the color of each event in Google Calendar
- choose which calendars the light follows
Read Luxafor integration with Google Calendar.
Zapier mode #
Each action can be Play Pattern, Solid Color or Blink Color. Choose a color or pattern for each action.
- Copy your Luxafor ID from the Zapier tab.
- Paste it into your zap on Zapier.
- Test the connection on Zapier.
For more steps, read Luxafor integration to Zapier.
Webhook mode #
Webhook mode lets you build your own solutions and control other devices with the Luxafor Web API. Read the Webhook API basics.
Set your own designs #
When you connect the Busy Tag 2 to the Luxafor app, the app loads a default picture for each status. It shows when you choose that color. You can replace any of them.
- Open the Settings tab and scroll down to the Busy Tag section.
- Choose the status or color you want to change.
- Click Upload your own and choose your picture or GIF.
Your design shows the next time you choose that color. The file must be PNG or GIF, 240 × 280 px, and up to 1 MB.
Hotkeys #
Hotkeys change the color without opening the app, so you stay on your task. Define them in Settings in the app. Type the shortcut you want to use, and the light changes to the color you set.
Technical specifications #
| Specification | Value |
|---|---|
| Screen | LCD, 240 × 280 px, adjustable backlight, optional auto-dim when idle |
| LEDs | 7 addressable RGB LEDs |
| Processor | ESP32-S3, dual-core, 240 MHz |
| Wi-Fi | 802.11 b/g/n, 2.4 GHz. Station mode, hotspot mode, or both. |
| Cloud | Secure (TLS) connection to the Busy Tag cloud. Each device has its own built-in cryptographic identity, and it accepts commands only from controllers you authorized. |
| Storage | 3 MB for your files, up to 1 MB per file |
| Image formats | PNG and GIF. Animated GIFs work. |
| USB | USB serial (CDC), 460800 baud, for the desktop app and firmware updates. Any USB port or adapter powers the device. |
| Time | Internet time sync (NTP) with an offline fallback. The app sets the time zone. |
| Button | Short press: erase files. 3-second hold: factory reset. |
| Firmware | 3.0 or newer for the Wi-Fi version, updated through the app |
| Manufacturer | SIA Busy Tag |
Safety and care #
- Power the device only from a standard USB power source.
- Do not unplug the device during a firmware update.
- Keep the device away from liquids and extreme heat.
- Clean the screen with a soft, dry cloth.
Troubleshooting #
The steps below are for the Busy Tag 2. For the first-generation Busy Tag, read Busy Tag troubleshooting.
The QR code does not show on the screen #
The device was set up before. Hold the button for 3 seconds until the LEDs flash red. The QR code comes back.
The app could not connect to the device during setup #
- Make sure the device is on and shows the QR code.
- Keep your phone close to the device.
- Tap Retry. The app tries 5 times by itself.
If your phone warns that the device hotspot has no internet, choose to stay connected. Losing internet during setup is normal.
A “!” shows next to the Wi-Fi icon #
The device is connected to your router, but the router has no internet. Cloud control does not work until the internet is back.
The device shows as Disconnected in the app #
- Check the screen. Does the toolbar show Wi-Fi bars?
- Unplug the device and plug it in again. It joins your network by itself and tries again every 30 seconds.
- Check that your phone or computer has internet.
- If the router password changed, set up Wi-Fi again. See Change the Wi-Fi network.
The upload is rejected or the file is too large #
The device accepts PNG and GIF files up to 1 MB. Use the editor in the app. It makes oversized files smaller by itself.
The picture is cut off at the top #
The status toolbar covers the top 30 px. Leave a margin in your design, or turn the toolbar off in Device Settings under Status Overlay.
The clock shows the wrong time #
The clock syncs from the internet and uses the time zone the app sends. Open the app once while the device is online. The time zone updates by itself.
Nothing helps #
Reset the device to factory settings and set it up again. See Use the button. On Windows or macOS, as a last step, use Device Settings and then Recover Device to reflash the firmware over USB.
Still need help? #
Send us a message and tell us:
- which device you have and where you bought it
- which firmware version it runs, if you can see it
- what you see, and what you expected to see
- which steps on this page you have already tried
- your operating system and the app you use, with its version
- your order number, if you have one
A short video or photo of the problem helps us fix it faster.