

The Luxafor CO₂ Monitor measures the carbon dioxide level, temperature and humidity in the room. It shows them on a round e-ink screen. A color scale shows how good the air is. When the CO₂ level gets high, the monitor can buzz and flash a red light to tell you to open a window. This manual covers charging, the screen, the button, alarm mode and specifications.
What’s in the box #
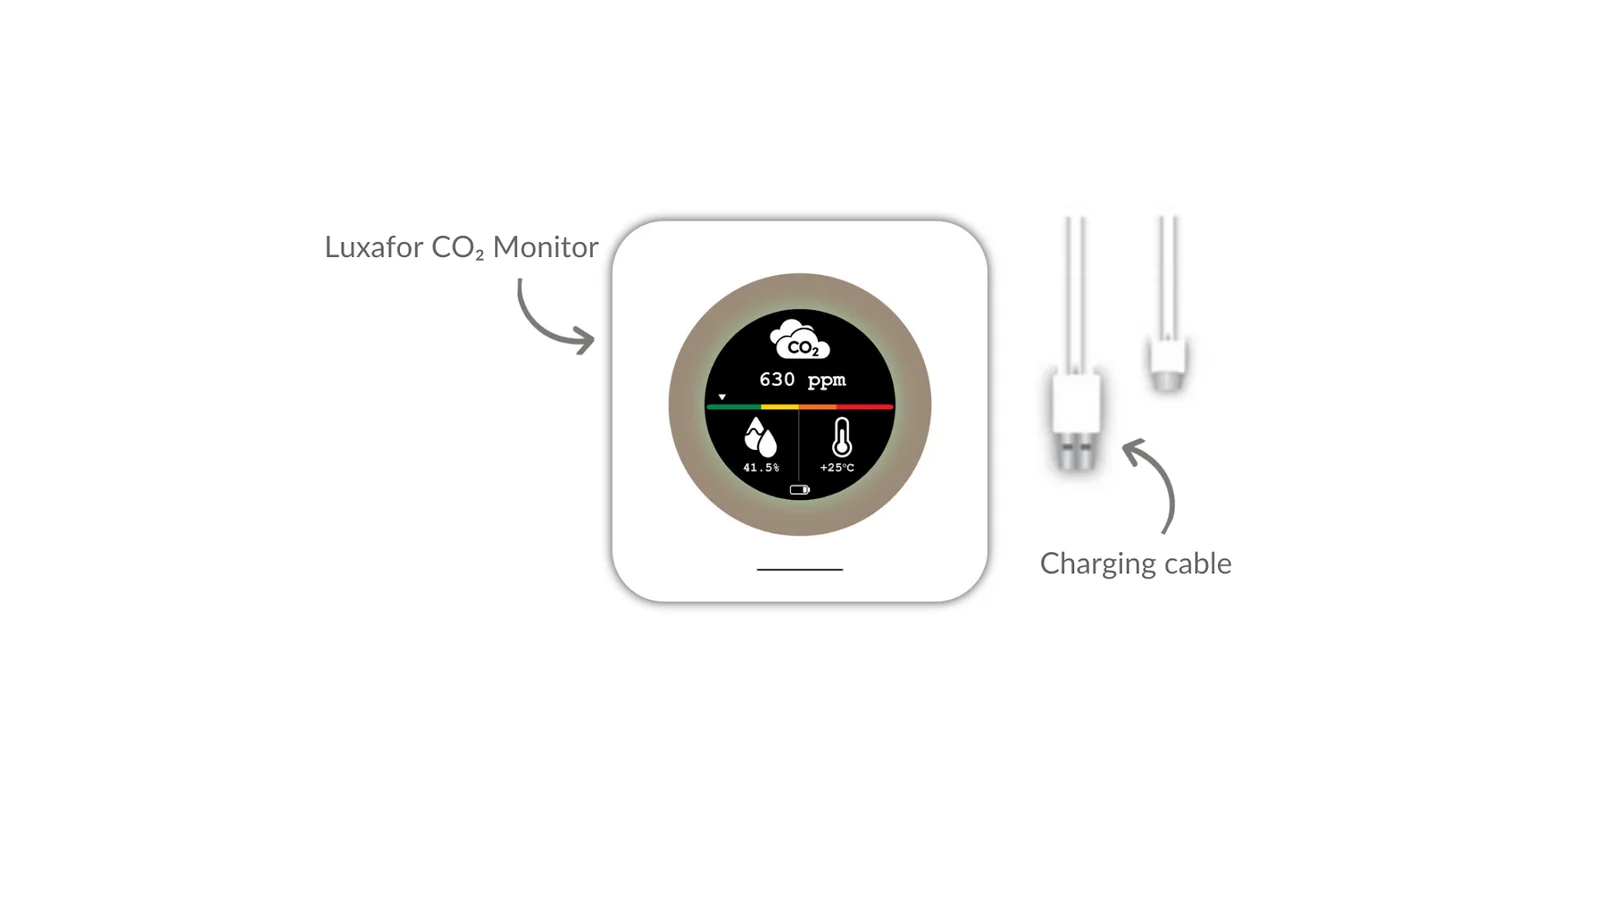
- 1 Luxafor CO₂ Monitor
- 1 USB data cable, 0.5 m (20 in)
Charge the monitor #
- Connect the USB cable from the box to a USB power outlet, such as a USB charger.
- Plug the other end into the micro USB port on the Luxafor CO₂ Monitor.
- Wait about 2.5 hours. A lightning bolt icon on the screen shows that the monitor is charging. When charging is done, the lightning bolt disappears and the color scale comes back.
The monitor turns on as soon as charging starts. You can use it while it charges, and it works as usual. The temperature reading can rise a little while it charges.
Turn the monitor on and off #
The button is on the back of the monitor.
- Turn on: press the button once, briefly.
- Turn off (version 1.14): press and hold the button. Release it when a Turned off message appears on the screen.
- Turn off (version 1.34): open the menu and select Turn off. See Use the menu (version 1.34).
The monitor comes with one of two firmware versions, 1.14 or 1.34. The buttons work differently on each.
Read the screen #
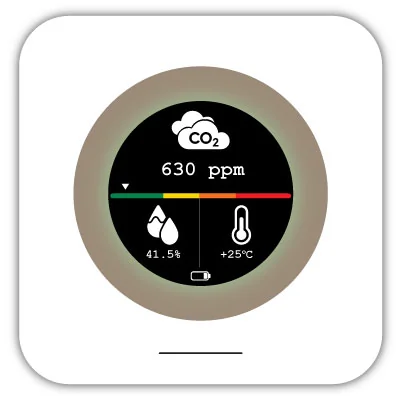
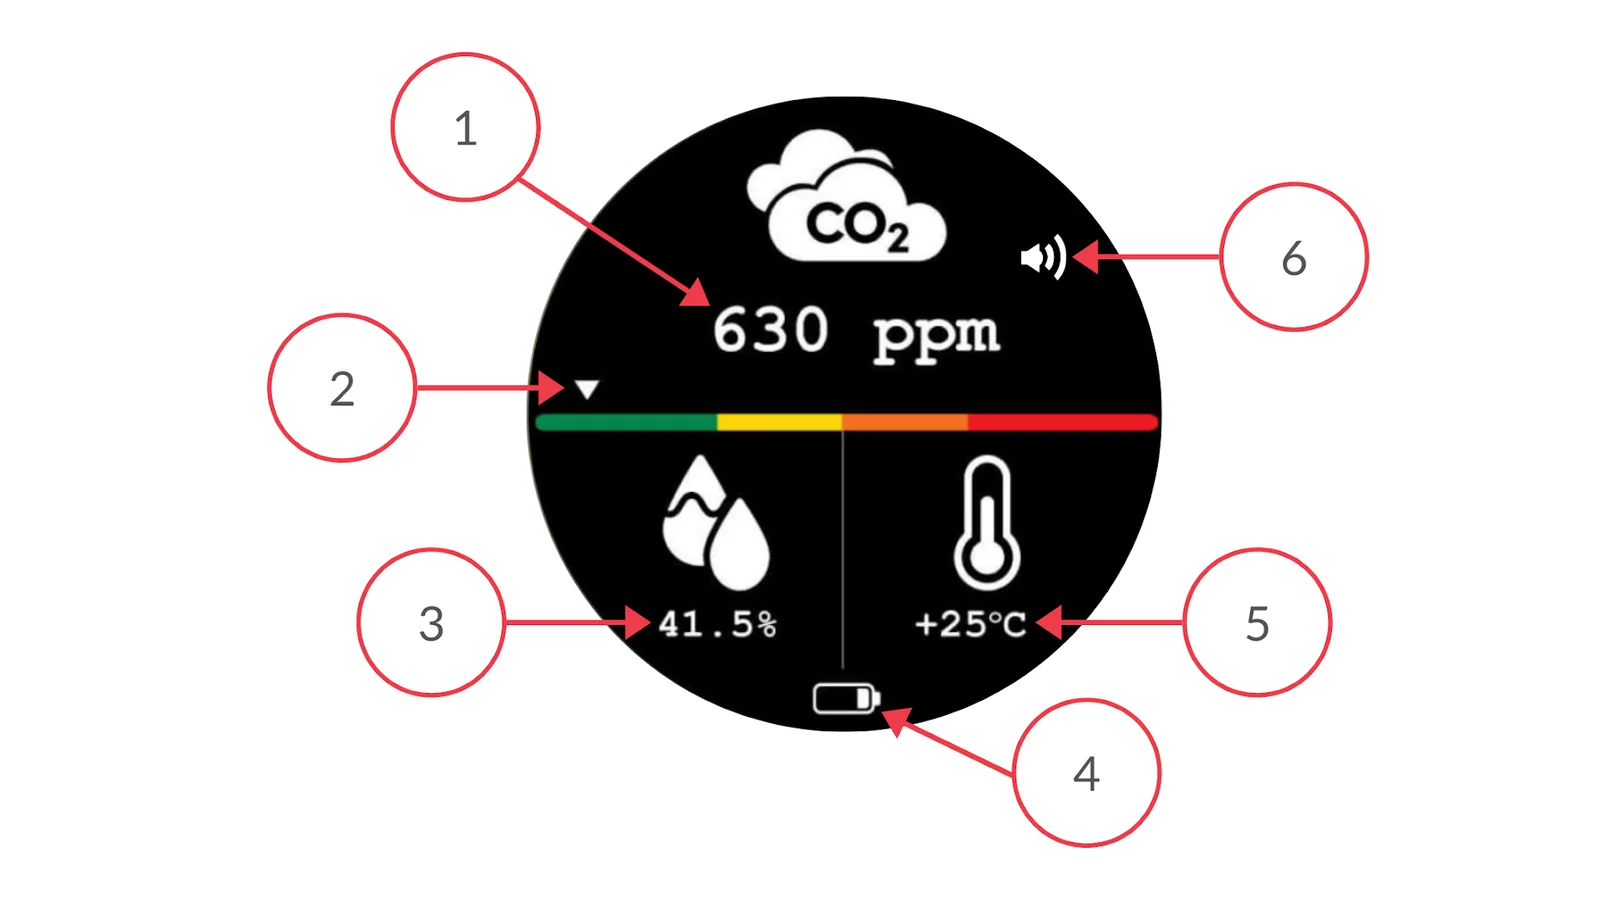
-
- CO₂ level in ppm (parts per million).
- Level indicator. The arrow points to a color on the scale.
- Relative humidity of the air in percent (% RH).
- Battery level.
- Air temperature in °C or °F.
- Alarm icon. It shows only when alarm mode is on.
What the colors mean #
| Color | CO₂ level | Meaning |
|---|---|---|
| Green | Below 1000 ppm | Normal |
| Yellow | 1000 to 1200 ppm | Average |
| Orange | 1200 to 1400 ppm | High |
| Red | Above 1400 ppm | Extremely high |
Use version 1.14 #
Button functions #
| To do this | Do this with the button |
|---|---|
| Turn the monitor on | Press once |
| Refresh the readings | Press once |
| Stop the alarm sound | Press once |
| Switch between °C and °F | Press twice |
| Turn alarm mode on or off | Press and hold for 6 seconds. The red light and the alarm icon on the screen confirm it. |
| Turn the monitor off | Press and hold. |
Regular mode #
Regular mode is on when you first turn the monitor on. The screen shows the CO₂ level, temperature, humidity and battery level, and there are no alarms. The monitor updates the readings every 5 minutes.
Alarm mode #
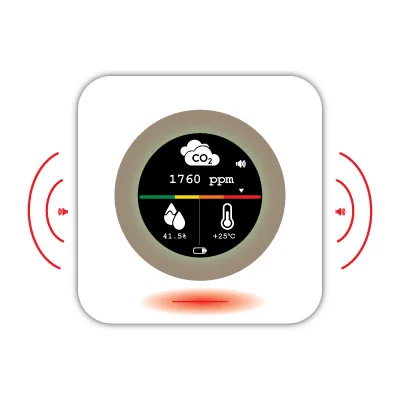
Alarm mode warns you when the air needs fresh air. Press and hold the button for 6 seconds to turn it on. The red light shows for 5 seconds and the alarm icon appears on the screen. Do the same to turn it off.
| CO₂ level | What the monitor does |
|---|---|
| Above 1000 ppm | Buzzes once a minute. The red light blinks for 3 seconds every minute. |
| Above 1200 ppm | Buzzes every 5 seconds. The red light keeps blinking. Ventilate the room as soon as you can. |
To stop the alarm sound, press the button once. The alarm turns on again by itself when the CO₂ level drops below 800 ppm, unless you turned alarm mode off.
Use version 1.34 #
Button functions #
| To do this | Do this with the button |
|---|---|
| Turn the monitor on | Press once |
| Go to the next view | Press once. There are 4 views: start screen, CO₂, temperature and humidity. |
| Open the menu | Double-click |
Use the menu (version 1.34) #
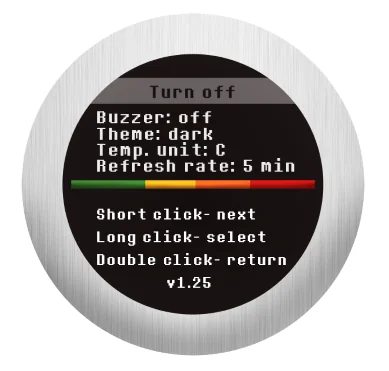
In the menu, the button works like this:
- Short click: go to the next item.
- Long click (2 seconds): select the item.
- Double-click: go back.
The menu has these items: Turn off, Buzzer, Theme, Temp. unit and Refresh rate. You can set the refresh rate to 1, 3, 5 or 10 minutes.
How the CO₂ measurement works #
The monitor measures CO₂ with a dual wavelength NDIR (nondispersive infrared) sensor. This type of sensor makes up for aging, resists dirt and stays accurate over a long time. Each monitor is adjusted at the factory at several CO₂ and temperature points. This keeps the CO₂ reading accurate across the whole working temperature range.
Technical specifications #
| Dimensions | 52 x 52 x 27 mm (2.05 x 2.05 x 1.06 in) |
|---|---|
| Weight | 55 g (1.94 oz) |
| Measures | CO₂, temperature, relative humidity |
| Use | Indoors only |
| CO₂ sensor | Nondispersive infrared (NDIR) |
| Calibration interval | 5 years |
| Update rate | Version 1.14: every 5 minutes. Version 1.34: every 1, 3, 5 or 10 minutes. |
| Power | USB, or 1200 mAh Li-ion battery |
| Battery life | Version 1.14: up to 3 weeks. Version 1.34: up to 2 months. |
| Charging time | About 2.5 hours |
| Operating temperature | 0 °C to 50 °C (32 °F to 122 °F) |
| Operating humidity | 0% to 85%, non-condensing |
| Display | E-ink, 200 x 200, black and white, viewing angle over 170° |
| Light and sound | 1 RGB LED and a buzzer |
| Material | ABS |
Measurement range and accuracy #
Accuracy is given at 25 °C and 1013 mbar (77 °F and 14.69 psi).
| Reading | Range | Accuracy |
|---|---|---|
| CO₂ | 0 to 5000 ppm | 0 to 2000 ppm: ±(50 ppm + 2% of the reading); 0 to 5000 ppm: ±(50 ppm + 3% of the reading) |
| Temperature | 0 to 60 °C (32 to 140 °F) | ±0.5 °C from 15 to 40 °C; ±1.0 °C from 0 to 60 °C |
| Relative humidity | 0 to 100% RH | ±3.5% from 20 to 80% RH; ±5.0% from 0 to 100% RH |
Still need help? #
Send us a message and tell us:
- which device you have and where you bought it
- which firmware version it has, if you can see it
- what you see, and what you expected to see
- which steps on this page you have already tried
- your order number, if you have one
A short video or photo of the problem helps us fix it faster.