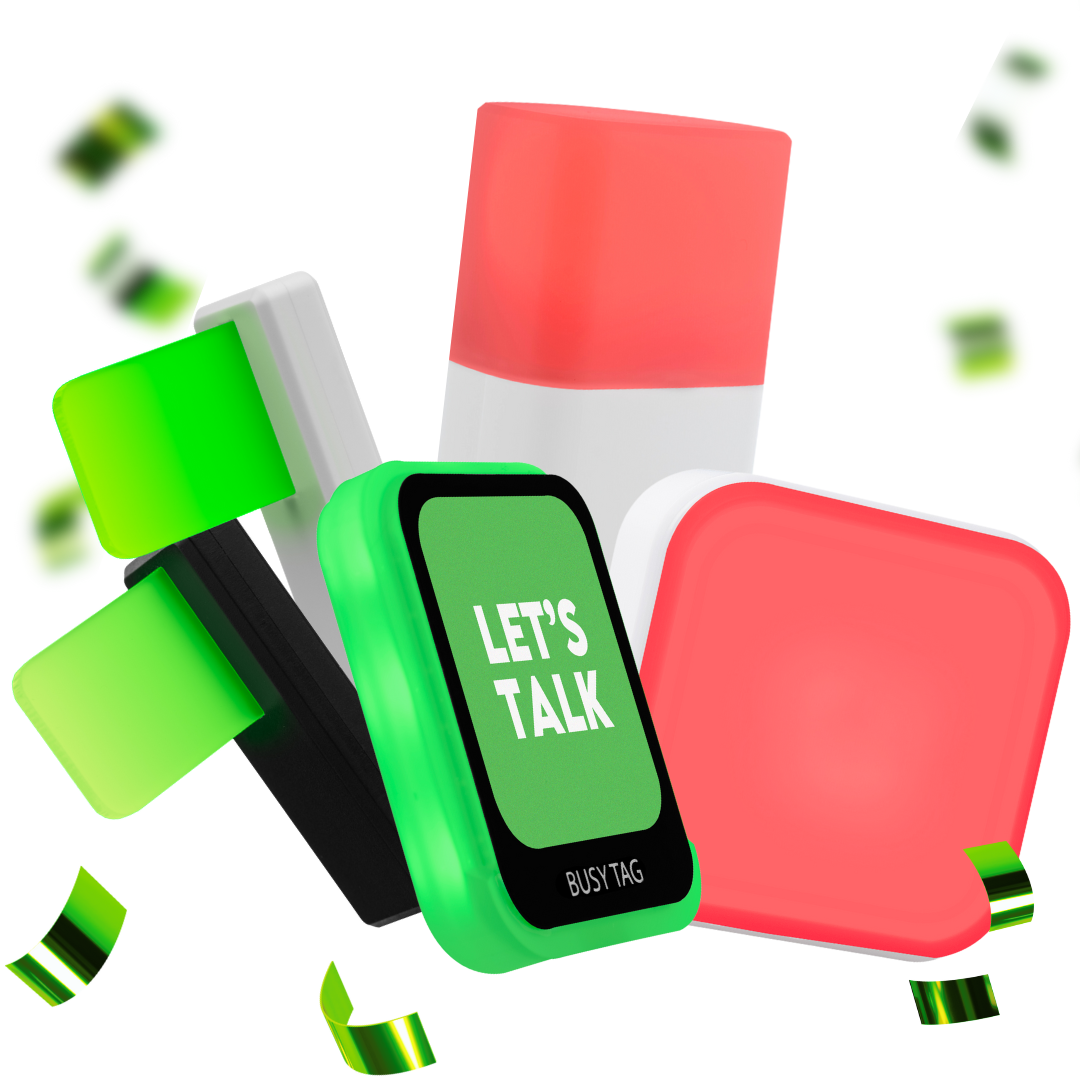

The Luxafor Busy Tag is a small USB-C display with a built-in busy light and a ring of LEDs. It shows your status as a message, a picture or a GIF, with a glowing light. You control it with the Busy Tag app or the Luxafor desktop app. This manual covers setup, both apps, custom visuals and specifications.
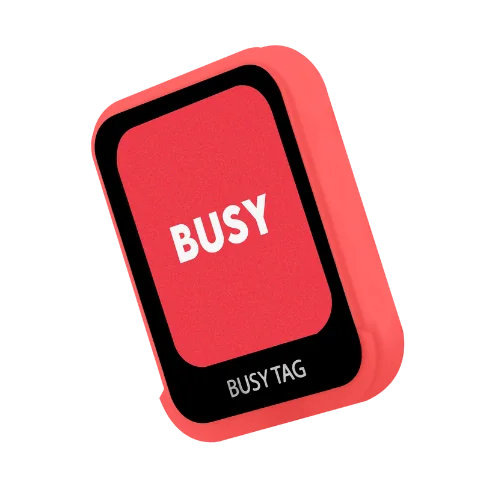
What’s in the box #
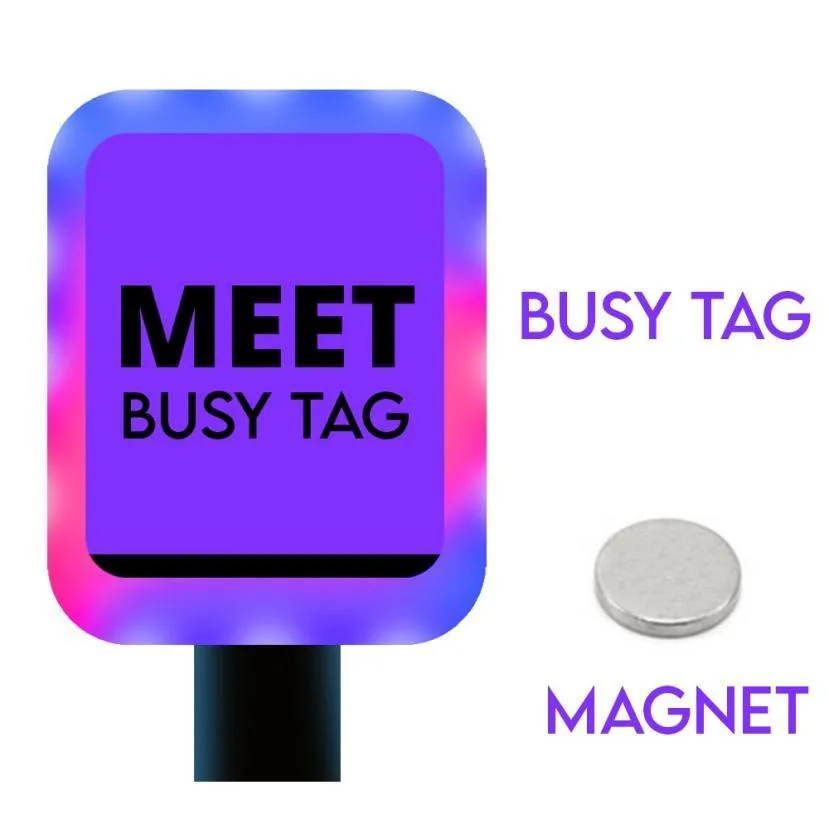
- 1 Busy Tag
- 1 magnet with double-sided tape
The box has no USB-C cable. Use your own USB-C data cable.
Set up #
- Peel the protective film off the Busy Tag screen.
- Peel the plastic off the double-sided tape on the magnet. Stick the magnet on a smooth, dry, clean surface where you want the Busy Tag. You can remove the magnet at any time. It leaves no residue if you use it as described.
- Connect the Busy Tag to your computer with a USB-C data cable. A cable that only charges does not work for data. With a charge-only cable, the Busy Tag shows only the last picture you loaded.
- Install the software you want to use. See Choose your software.
- Open the software and follow the setup steps. Do not unplug the Busy Tag during setup. The software checks for updates for the device.
You can also use the Busy Tag without software. Connect it to your computer and drag your own pictures or GIFs onto it. See Make your own visuals.
The Busy Tag can also run from a power bank or a USB charger. It then shows the last saved picture, or the picture the app you selected sends.
Choose your software #
You can control the Busy Tag with either app. Each app has different features.
- Busy Tag app: download it from the Busy Tag software page.
- Luxafor desktop app: download it from the Luxafor software page.
Use the Busy Tag app #
With the Busy Tag app you can:
- choose the colors of the display and the LEDs
- pick a ready-made message that shows your status
- type your own message
- upload your own pictures and GIFs, up to 1 MB each and 240 × 280 px
- use a timer for Pomodoro sessions
- show your own visuals together with the LED light
- play LED patterns, such as flashing colors, police lights and rainbow
- pick a ready-made affirmation or write your own
Make your own visuals #
The Busy Tag screen shows PNG pictures and GIFs. Each file must be 240 × 280 px and no larger than 1 MB. Use short file names. Check the memory of the Busy Tag now and then, because a full memory slows it down.
To make a GIF the right size, use the GIF converter for Busy Tag. You also find it under Make a GIF in the menu of the Busy Tag website.
Show a visual with the Busy Tag app #
- Open the Designs tab in the left menu and click Add Item.
- In the Display tab at the top, upload your visual in the Upload a file window.
- Add text if you want it. Choose the font, size, weight, color and position. You can also leave the text out.
- Open the LEDs tab at the top and choose the color of the LED glow.
- Click Save in the top right corner and name the visual. It appears in the Designs tab.
- Click the play button next to the visual. Wait for the file to load and show.
Show a visual with the Luxafor app #
- Copy your visual onto the Busy Tag with your computer’s file manager, the same way you copy files to a USB drive.
- Name the file
Custom. - In the Luxafor app, open the Solid Color tab and select Custom color.
When you pick a solid color, the Busy Tag shows the picture on its storage that has the name of that color. For example, Blue shows the picture named Blue. To show your own pictures for the solid colors, give your files the same names as the colors in the Solid Color tab.
Use the Luxafor app #
Choose a mode #
Open General in the app to choose a function. Each one takes control of the Busy Tag.
- Solid Color: show a ready-made message, such as Busy, Let’s talk, Do not disturb or In a meeting. In this tab you can also pick a custom LED color and brightness with a slider, and play blinking and strobe patterns on the LEDs.
- Timer: choose time blocks that show a color-coded message. For example, show a red glow and Busy from 9:00 to 12:00, then a green glow and Let’s talk from 12:00 to 13:00.
- Tomato Timer: set Pomodoro intervals. Choose the length of work sessions and breaks. For example, 15 minutes of work, a 5-minute break, and a longer break after 4 cycles.
- Zapier and IFTTT: connect the Busy Tag to hundreds of apps, such as Google Meet, calendars, Jira, ClickUp, Slack and Microsoft Teams, with your own rules and triggers. Read Luxafor integration to Zapier.
- Webhook: control the Busy Tag from other devices, apps and services with the Luxafor Web API. You can change the identifier and the URL of the webhook. Read the Webhook API basics.
- Microsoft Teams: the Busy Tag shows your Teams status automatically. Read Microsoft Teams mode.
The app also has Jabber, Skype for Business and Colorblind modes.
Email notifications #
Open Notifications to show a message on the Busy Tag when you get email.
- Click Add new connection and follow the steps to connect your email.
- Choose the LED blinking pattern for new messages.
- Set rules for certain senders or words in the email. For example, blink red when the sender contains “Sarah”, and blink blue when the message contains “sample text”.
App settings #
In Settings you can:
- set hotkeys that show certain colors or open functions in the app
- turn on incoming webhooks
- set the caller identifier and the webhook URL
- see the port and the security token for incoming local webhooks
- start the app when your computer starts
- start the app minimized
The Busy Tag has its own settings in the same tab. You can:
- see the port the Busy Tag is connected to
- change the brightness of the display
- disconnect the Busy Tag from the Luxafor app
- format the Busy Tag to bring it back to its original state. Do not unplug it while it formats.
The Help tab has more information about the app. The app version is at the bottom.
Compatibility #
What you can use depends on the app you run, not on the Busy Tag itself.
| App | Windows | Mac |
|---|---|---|
| Busy Tag app | Windows 10 or later | macOS 12.0 or later |
| Luxafor desktop app | Windows 7 or later | macOS 11.5 or later |
Technical specifications #
| Specification | Value |
|---|---|
| Dimensions | 36 × 46 × 8 mm (1.42 × 1.81 × 0.31 in) |
| Weight | 20 g |
| Screen | 1.69 in full-color LCD, 240 × 280 px |
| Light | 7 RGB LEDs |
| Power consumption | Up to 500 mA |
| Power | External power through USB-C: a power bank, a computer or a USB charger. Use a USB-C data cable, not included. |
| Data transfer | USB cable. Wi-Fi data transfer needs firmware 3.0 or later, which only the Busy Tag 2 has. |
| Firmware | 0.7, 1.0 or 2.0. The Busy Tag cannot be updated to firmware 3.0 or later. |
| Visuals | PNG and GIF, 240 × 280 px, up to 1 MB |
The Busy Tag has its own operating system, made by the Busy Tag developers. You can control it with the Busy Tag app or a partner app such as Luxafor. You can also control it with your own apps by using commands. The Busy Tag AT command reference (firmware 3.0) is for the Busy Tag 2 only.
Troubleshooting #
Read Busy Tag troubleshooting.
Still need help? #
Send us a message and tell us:
- which device you have and where you bought it
- what you see, and what you expected to see
- which steps on this page you have already tried
- your operating system and the app you use, with its version
- your order number, if you have one
A short video or photo of the problem helps us fix it faster.