This page will keep being updated throughout the whole process of becoming a public and stable app on Zapier. Follow us on Social Media and don’t forget to subscribe to our Newsletter below to stay updated!
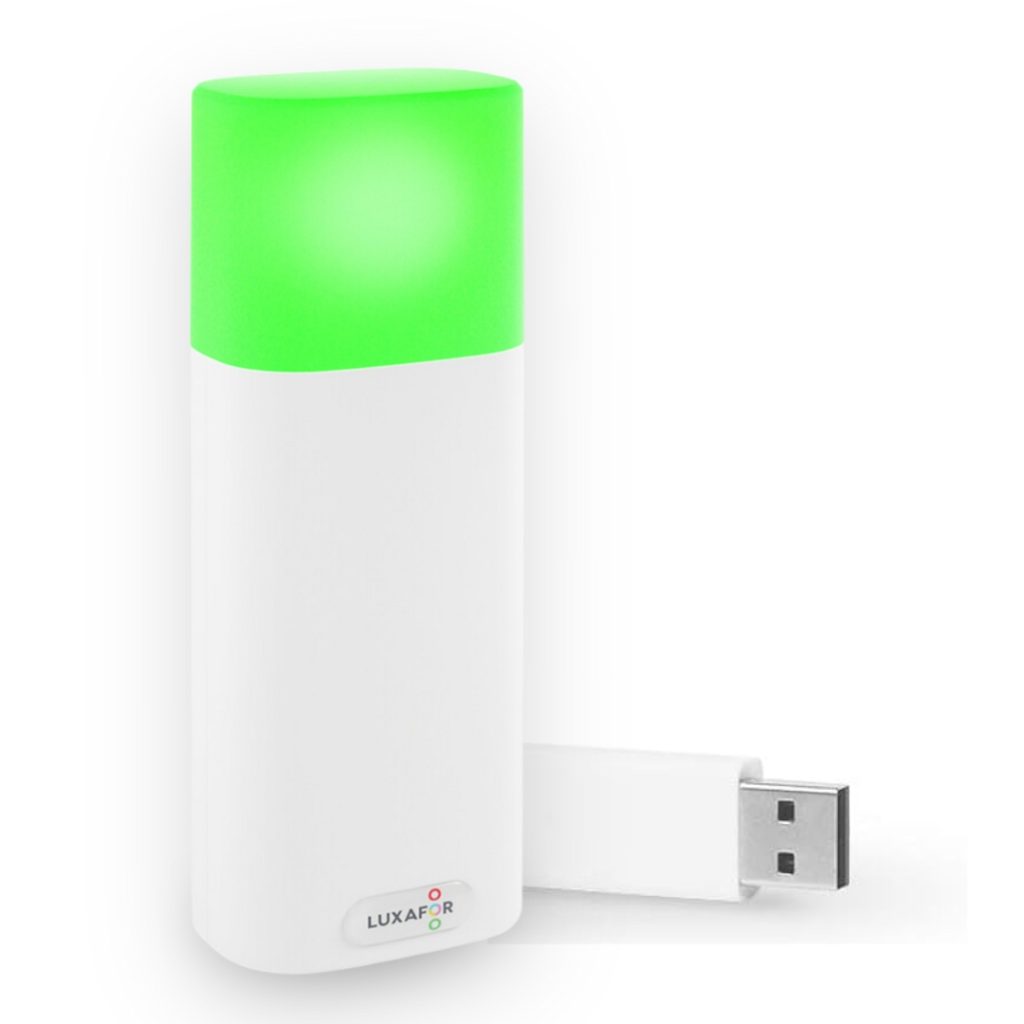
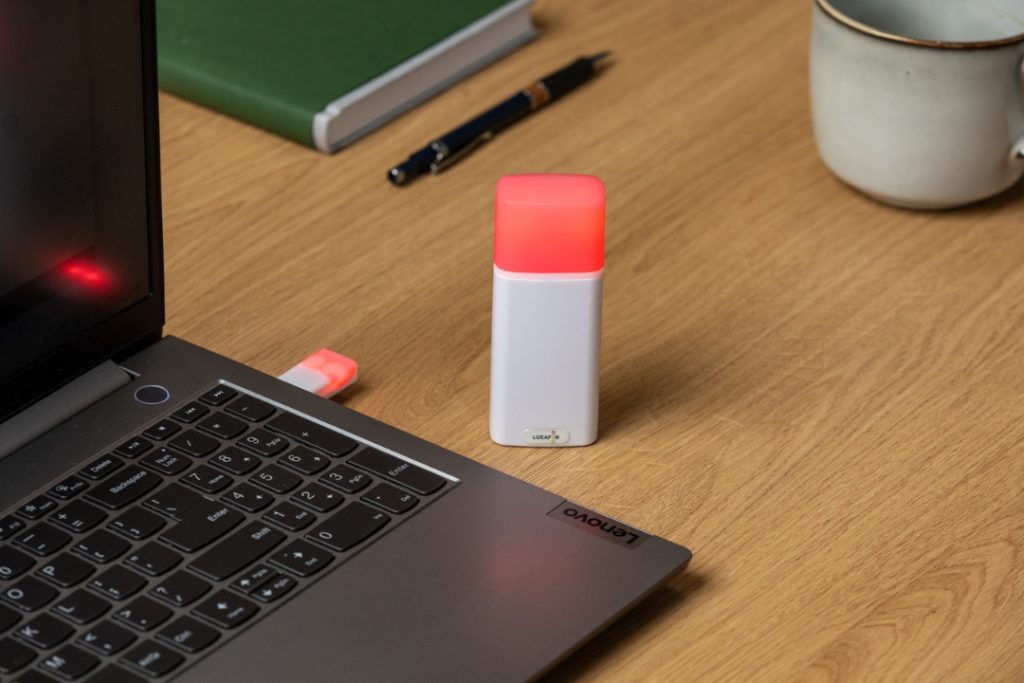
Connect Luxafor to hundreds of other apps with Zapier
Zapier lets you connect Luxafor to 2,000+ other web services. Automated connections called Zaps, set up in minutes with no coding, can automate your day-to-day tasks and build workflows between apps that otherwise wouldn’t be possible.
Each Zap has one app as the Trigger, where your information comes from and which causes one or more Actions in other apps, where your data gets sent automatically.
Follow these steps to create your first Luxafor Zap
1) Log into your Zapier account using this link or create a new account
2) Click on Click on “+ Create Zap” button
3) Configure Trigger step:
Choose a Trigger App from a wide array of options. For the purposes of this instruction, we chose Gmail as the Trigger App. Click on the "Continue" button when you're done.
Select a trigger. For the purposes of this instruction, we chose New Email as the trigger. Click on the "Continue" button when you're done.
Select a Gmail account, test it if you wish and click on the "Continue" button when you're done.
Set up your Gmail Label/Mailbox (leave blank if you wish to receive notifications each time any new email is received.). Click on the "Continue " button when you're done.
Test your new Trigger.
That's your Trigger step done. Now it's time to configure the Action step.
4) Configure Action step:
Choose an Action app from a wide array of options. For the purposes of this instruction, we choose Luxafor as an Action App. Click on the "Continue" button when done.
Select an Action. You can choose from 3 types of actions: Play Pattern, Solid Color or Blink Color, and choose from a variety of colors or modes for each action. For the purposes of this instruction, we choose Play Pattern as the Action.
Allow Zapier to access Luxafor
1. Find and copy the Luxafor ID in the Zapier Tab on Luxafor Software.
2. Paste your Luxafor ID into the Zapier authorization field, if you have not connected your Luxafor device yet. Click on the “Yes continue” button when you’re done.
3. If you have connected the device already, just pick that device and click on the “Continue” button.
Set up the Pattern of your choice and click on the "Continue" button when you're done.
Test your Luxafor device by simply clicking on the "Test" button. If you want to skip this step, click on the "Skip Test" button.
Click on the "Done Editing" button.
5) Give your Zap a name and turn it on
6) Enjoy – you have just created your first Zap automation with Luxafor!
Luxafor introduces Early Access integration to Zapier